This is probably the most dangerous of the missions; the attacking team not only has to find and destroy the defending teams hideout entrance – they must enter the hideout and retrieve valuable intelligence and plant a bomb. The more time that is spent the more chance of finding very valuable intelligence! Once the attacking kill team has captured all the intel they want to risk getting and plant the bomb, they must get off their table edge
Terrain
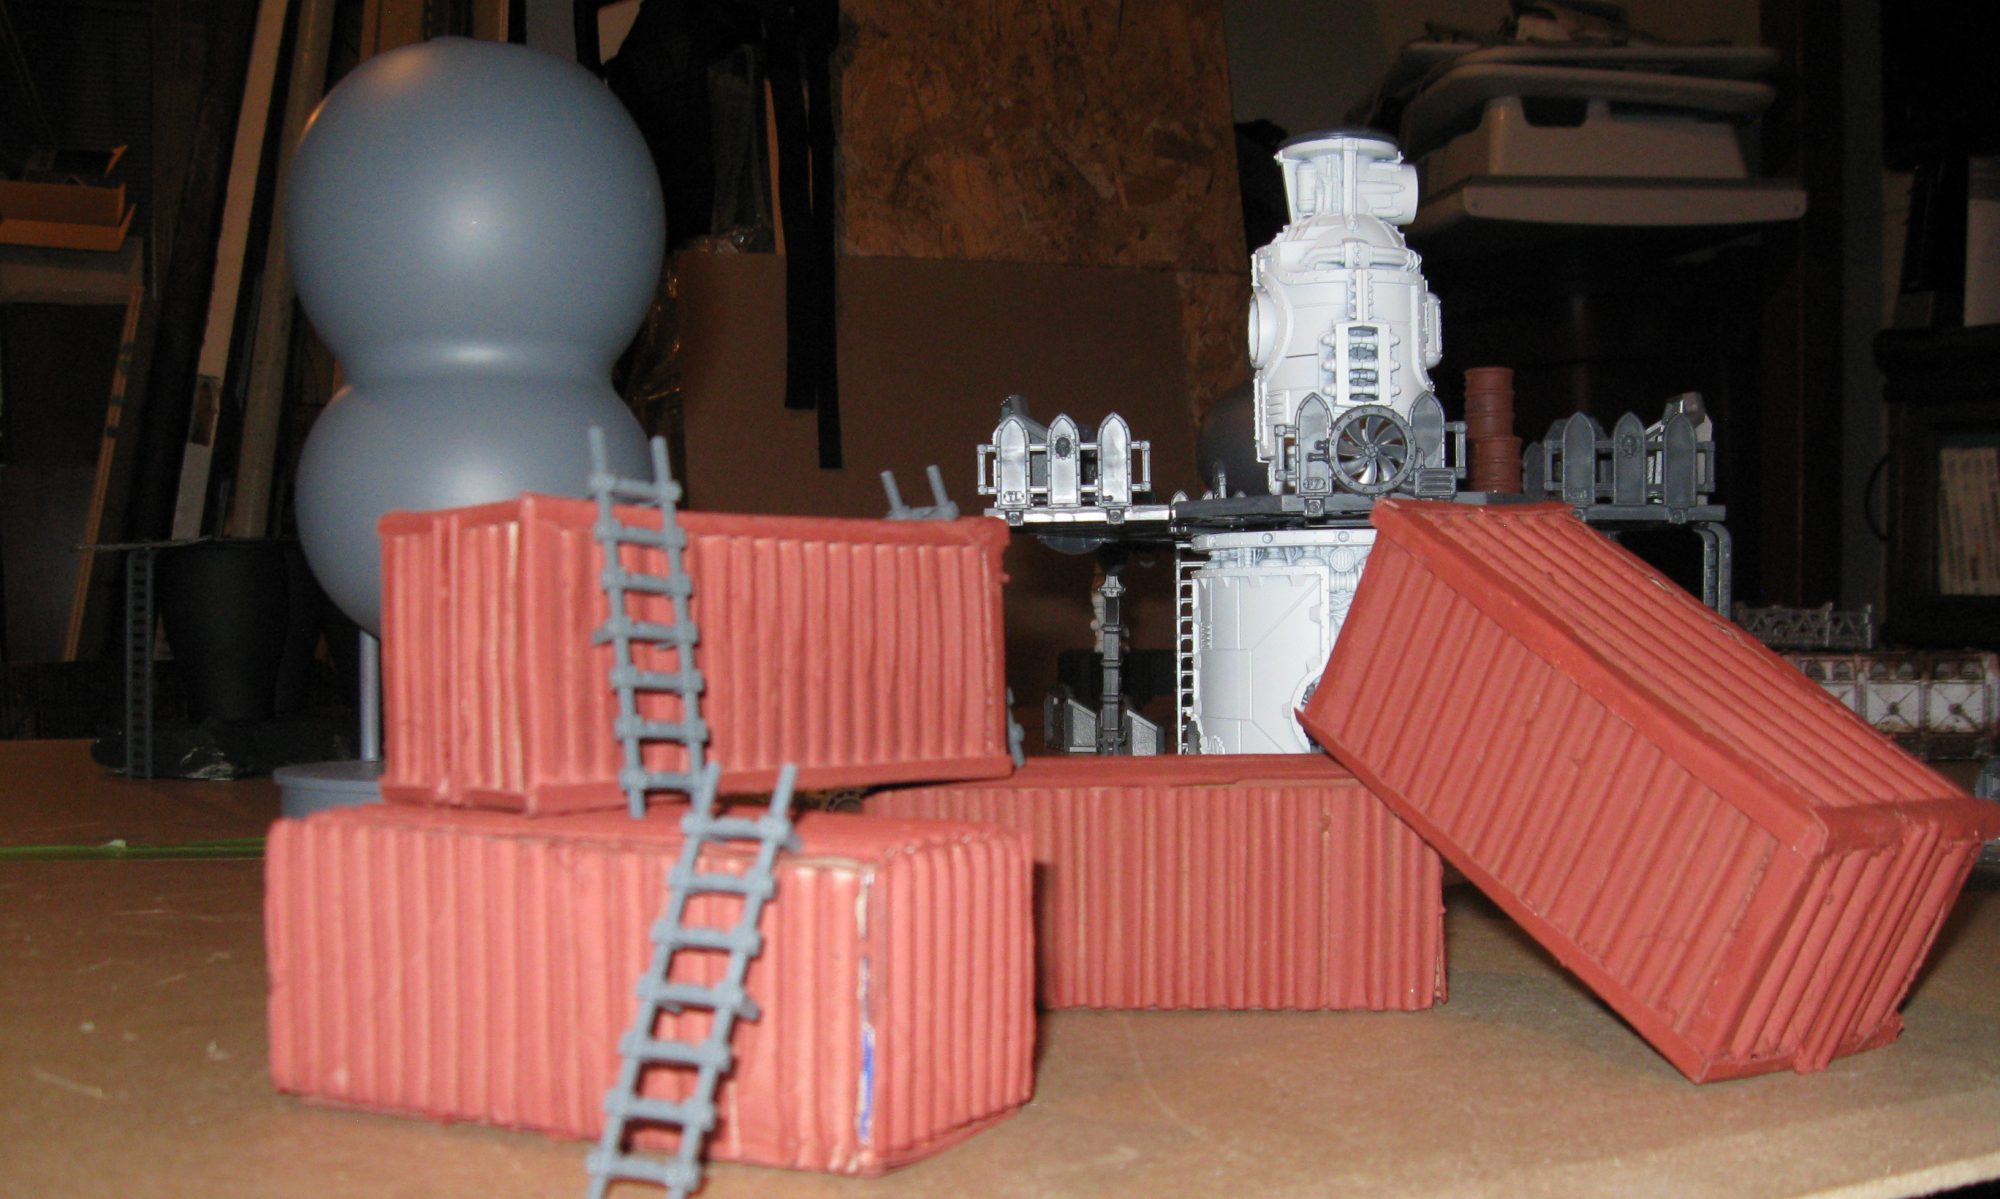
Each player takes it in turns to place a piece of terrain, either a structure or a connecting walkway, until there is no more terrain to place or the players agree that there is enough. It is suggested that the terrain is set up within an area of 4′ by 4′, or slightly smaller, so that the kill teams start off a reasonable distance apart.
Raid Objective
After the terrain is set up, the defender places the Entrance anywhere on the ground level of the battlefield. This represents the entrance way to the bunker. The raiders must destroy the Entrance to win the game.
The Entrance is a structure with a Toughness of 6 and can sustain the equivalent of 3 wounds. Once the Entrance has been reduced to 0 ‘wounds’ it counts as having been destroyed.
Kill Team Deployment
The defender sets up first. They deploy up to D6 of their kill team as sentries, choosing which fighters they wish to put on sentry duty. Double this number for Ork Boyz kill teams. Sentries can be placed anywhere on the battlefield at least 8″ away from all battlefield edges. The remaining fighters will arrive as reinforcements, as described later.
The attacker then deploys their kill team within 8″ of a randomly selected battlefield edge. The attacker has a random number of kill team fighters taking part in the raid. Roll a D6: 1-2 = 4 fighters, 3-4 = 5 fighters, 5-6
= 6 fighters. Add 4 to this number of fighters for Ork Boyz kill teams. The remaining fighters have beenleft behind. The attacker can choose which of their fighters will commit to the raid. Special deployment rules such as Infiltration cannot be used by either kill team in this mission.
Starting the Game
The attacker takes the first turn of the game.
Sentries
Sentries move up to D6-3 inches per turn, rolling separately for each sentry. If the distance is negative then the attacking player can move the sentry model instead, though they cannot move them into an obviously harmful position (such as walk them straight off a ledge). For example, a roll of 1 gives a move of -2, so the attacker moves the sentry up to 2″.
Sounding the Alarm
Until the alarm is sounded, sentries move as described above, their Weapon Skill is halved and they cannot shoot or do anything else. After the alarm is sounded sentries can move and attack as normal. The alarm can be sounded in a number of different ways:
Spotting: Roll a D6 at the start of each player’s turn. Sentries can try to spot any raiders who are within their Initiative distance multiplied by the dice score so long as they are within the 90° arc in front of the sentry and not hidden. Raiders in the open will be spotted automatically. Raiders in partial cover will be spotted on a D6 roll of 4+. Raiders in cover will be spotted on a D6 roll of 6.
Sentries will spot any raider within their Initiative distance in inches regardless of cover or hiding. Raiders are also spotted if they move within the Initiative distance of a sentry during the raiders’ turn. If a sentry spots a raider or is hit by a ranged attack and isn’t taken down then they sound the alarm if they survive the turn. Sentries taken out of action cannot sound the alarm. Sentries who end the turn down sound the alarm on a roll of 4+.
Shooting: If a raider shoots a weapon roll 2D6 and add the weapon’s
Strength to the score. If the result is over 10 then the alarm is sounded. However, this rule does not apply to silent weapons like sniper rifles. Note
that shooting can sound the alarm even if there are no sentries left.
Fighting: A sentry who is attacked in hand-to-hand combat will sound the
alarm if they survive the turn. If the raider shoots a pistol or uses a weapon
noted as being noisy in the Armoury in hand-to-hand combat then you
must roll as described above to see whether the noise causes the alarm to
be sounded.
The noise of fighting may also cause the alarm to be sounded even if the sentry doesn’t survive to do so themselves. Roll a D6. If the score is equal to or less than the number of raiders fighting in the hand-to-hand combat then the scuffle has been noticed and the alarm is sounded. For example, if three raiders mug a sentry then a roll of 1-3 will sound the alarm.
Entrance: The alarm is automatically sounded if the Entrance is destroyed. Note that although it’s possible to set off the alarm mid-turn, the special sentry rules still apply until the end of that turn.
Reinforcements
At the start of the game the defender divides any fighters not deployed as sentries into groups of one or more models as they see fit. These fighters are not set up on the battlefield, but can enter as reinforcements.
Once the alarm is sounded the defender can attempt to bring on one group of reinforcements per turn. Nominate the group you wish to bring on and roll a D6. If the roll equals or beats the number of models in the group, or is a roll of 6, then the group may enter the battlefield. If the roll is less than the size of the group then no reinforcements enter that turn. As you can see, the larger the group the less likely it is to enter, so the defender must try to bring as many models as they dare into play each turn.
Reinforcements enter together on any of the three battlefield edges other than the edge where the attacker deployed, measuring their movement from the edge of the battlefield. Roll a D6 to determine which edge they enter from as shown on the diagram. Reinforcements cannot be placed
within 10″ of a raider but can move and fire normally on the turn they are placed.
Ending the Game
The game ends if the Entrance is destroyed and all surviving raiders leave the battlefield by the edge where they originally set up. The game also ends if all the raiders or defenders are down or taken out of action, or if a kill team bottles out.
As the attackers have so few raiders, the kill team does not have to take bottle tests until it has lost 50% of its fighters rather than the usual 25%. The defenders are determined to defend their territory, and don’t have to take bottle tests. However, once they have lost 50% of their fighters, they may bottle out voluntarily. If they do, they must lose 1 promethium cache, and the attacker gains 1 additional promethium cache.
If the Entrance is destroyed and the attacker didn’t bottle out, or the defenders bottle out, then the attacker wins, otherwise the defender wins.
Special
If the Entrance was destroyed then roll a D6. On a roll of 1 or 2, the defender earns 1 fewer promethium cache then they normally would at the end of the game (to a minimum of 0).
NOTE: Based on The Raid mission in the Shadow Wars: Armageddon rule book.