Sometimes discretion is the better part of valor. After a particularly unsuccessful foray out to find supplies, kill teams can be low on ammo and make easy victims for better supplied kill team. On first contact the ill supplied team focuses on getting off the battlefield.
Terrain
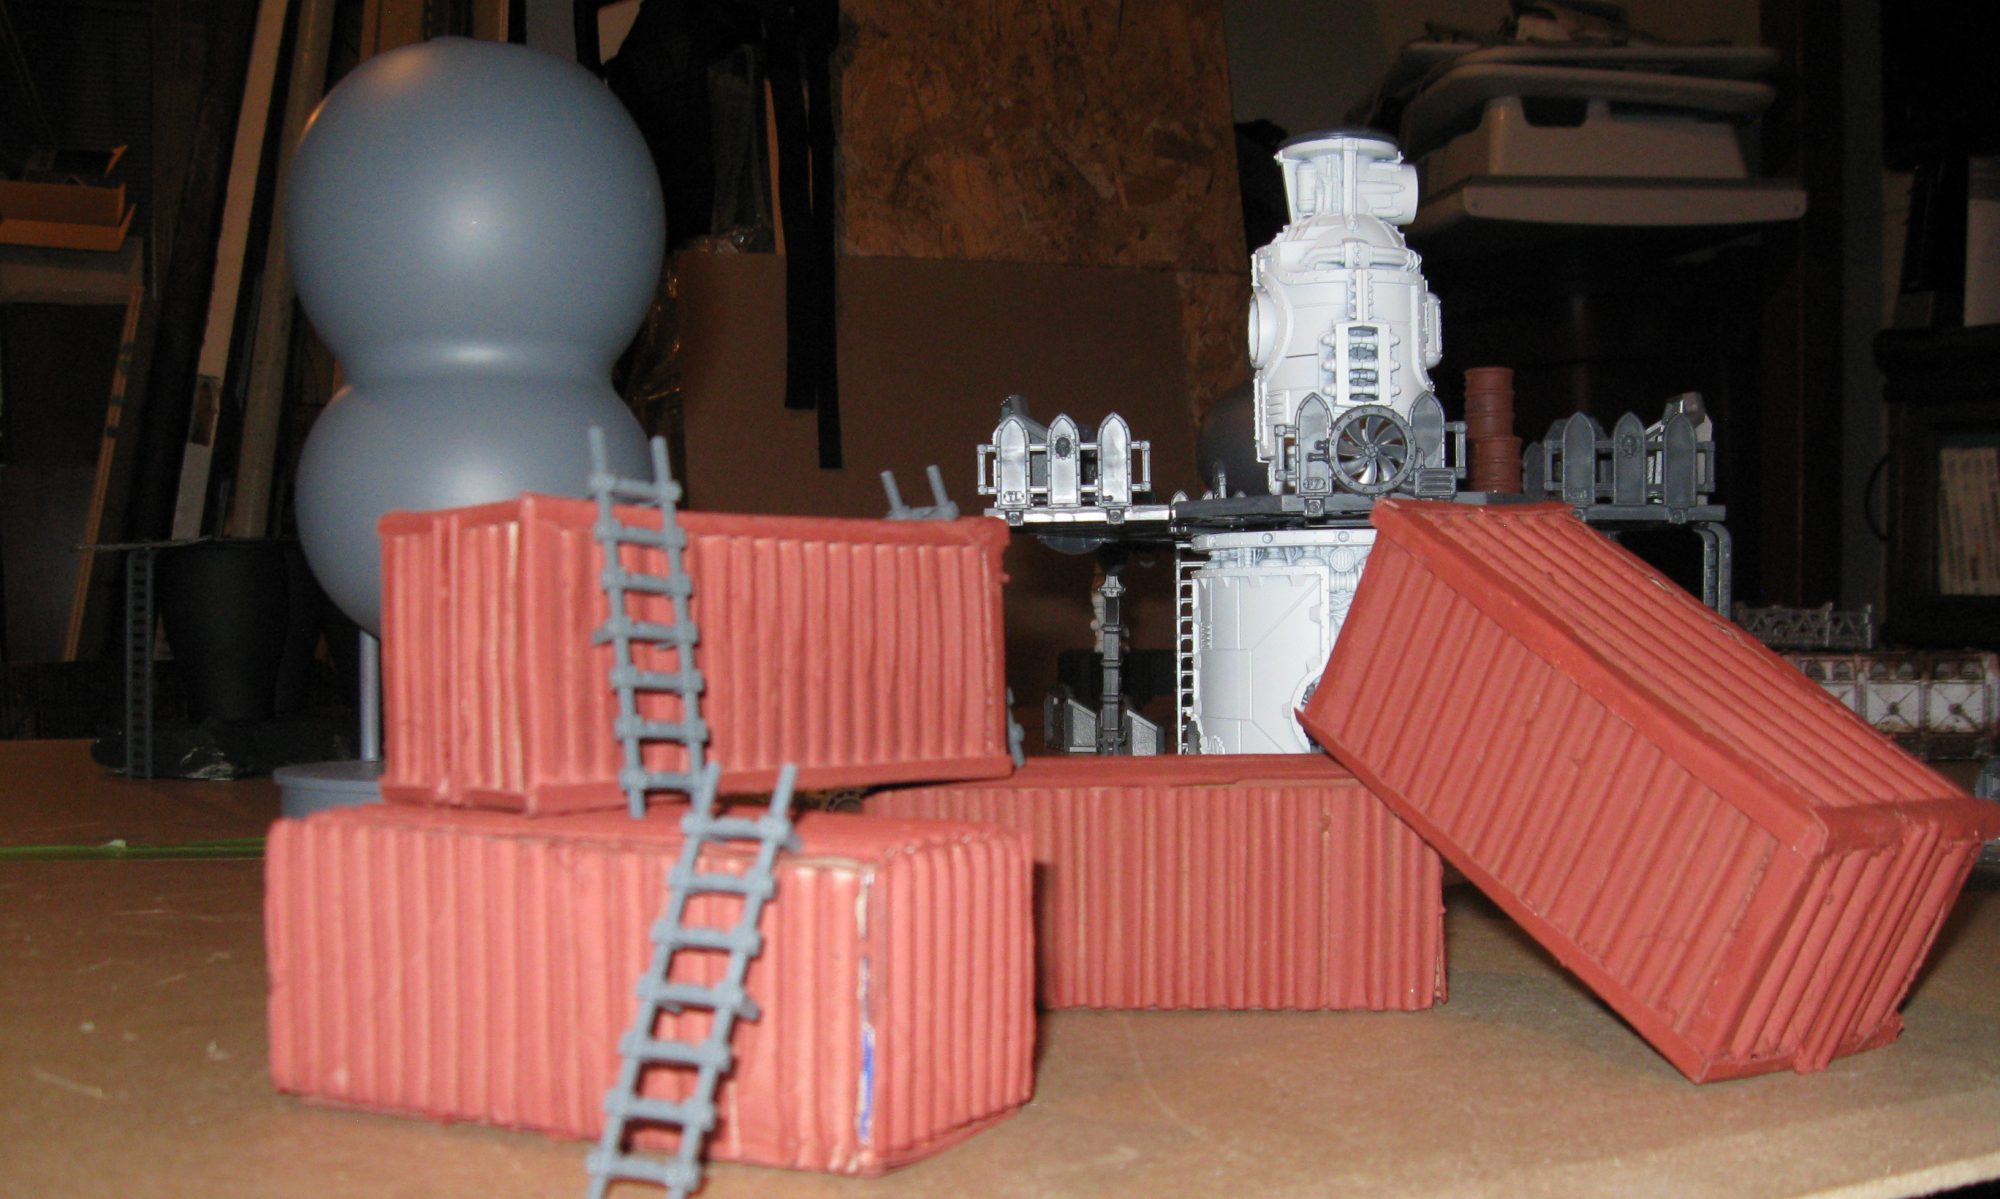
Each player takes it in turns to place a piece of terrain, either a structure or a connecting walkway, until there is no more terrain to place or the players agree that there is enough. It is suggested that the terrain is set up within an area of 4′ by 4′, or slightly smaller, so that the kill teams start off a reasonable distance apart.
Kill Team Deployment
Each player rolls a dice. The low scorer is the Defender. The defending team sets up with in 3” of the center line on the board and need to get as many of their forces off the back edge of their deployment zone as possible. The Attacking team deployment zone is 12” from the opposite edge of the defender’s exit zone.
Starting the Game
The attacking kill team initiates the contact by taking first turn.
Special Rules
The Defending team is low on supplies and have to make ammo checks when their to hit roll is either 5 or 6. One more reason that they are practicing discretion.
Ending the Game
The continues until the defending team manages to get all their remaining members off their table edge or until one kill team fails a bottle test, or one player volunteers to bottle out, the game ends immediately. The kill team that bottles out loses and the winner is left in possession of the battlefield.
Special
If the attacking kill team takes at least three enemy models out of action, and inflicts three times as many out of action casualties as it suffers itself, then it earns one additional promethium cache due to the huge amount of territory they have claimed.