Hive Has Been Conquered – EH1

Announcement from Everything Hobby:

So the Hive’s been conquered, but the battle isn’t over!
This week will mark the end of this campaign, but you can recruit members of your current kill team for the next campaign if you choose the same faction, so give it your all and don’t let those advancements go to waste! There will be a short break of a couple weeks following the completion of this week’s games, and then we’ll be launching another campaign right away which will be managed by Collino, who has volunteered to be our resource for organized Shadow War activities in the Rochester area.

The Collino’s Company of Harlequins, the team of Ad Mech, and the team of Necrons still have an chance to tie because they have not played their Match 5 games. So the campaign took 10 games to finish.

This makes the tactical play by Tom Z and his Nid’s last week huge since Collino’s Company could have won the campaign in the first game of Match 5 instead of only being able to tie the ‘Nids.

I guess that means that I should figure out how to move my Google Sheet to a web application of some sort. I am thinking that it should be a standalone database with WordPress plugins for front end user interface. Start small and just track the win/loss/promethium for each team, the match results, and the campaign games (opponents).

What? More Bugs! – EH1 Necrons

Match 4: Tom‘s Tyranids vs my Harlequins.

Game 1: Kill Team
The Harlequins flanked stage right with the leader and a specialist, stage left with two players, and center stage with a player ans specialist. We took sweeping to the bugs from left To right. We were able to take down the bug specialist and draw his leader into combat. His leader charged my leader and did a flesh wound to him. My two specialist charged in on the leader while the player went left and took the downed bug out. The bug leader lasted until his turn when he was taken out in close combat freeing me up to shoot at one of. His bugs. I needed to take one more guyut for an extra promethium. The laughing god denied that leaving two of his bugs with a single wound when he chose to bottle out. Both Tryranids that went out of action later died.

EDIT: Tom promoted the newly promoted new spawn to replace his leader.

Harlequins win an roll 2 promethium, Bugs spent their o1 on recruiting.

Game 2: Scavanege
Harlequins managed to grab 4 of the 6 loot counters in their half of the first. The Nids took my leader out of action in their first turn and claimed 2 of counters. In my second turn I managed to get 3 of the 4 into my deployment zone, but but the 4 was 1 inch out. It turns out that you have to control all of the counters in your zone at tthe begining of your turn to win. He managed to take out one of my guys so that I didn’t have contro of the 4 at the begining. With a larder ship of 9, since my leader was out I rolledbox cares to fail and lose. Leader out with a head wound other player complete recovery. No loot converted

Harlequins 1 Tryranids 3 Promethium

Total Promethium: Terry 13; Tom 10

Automated Campaign Tracking Tool

I was thinking of writing an automated campaign tracking web application designed for a multiplayer campaign that would track the players promethium and win/loss record. This would be used to either run a round robin, double elimination, or a relative strength matchups.

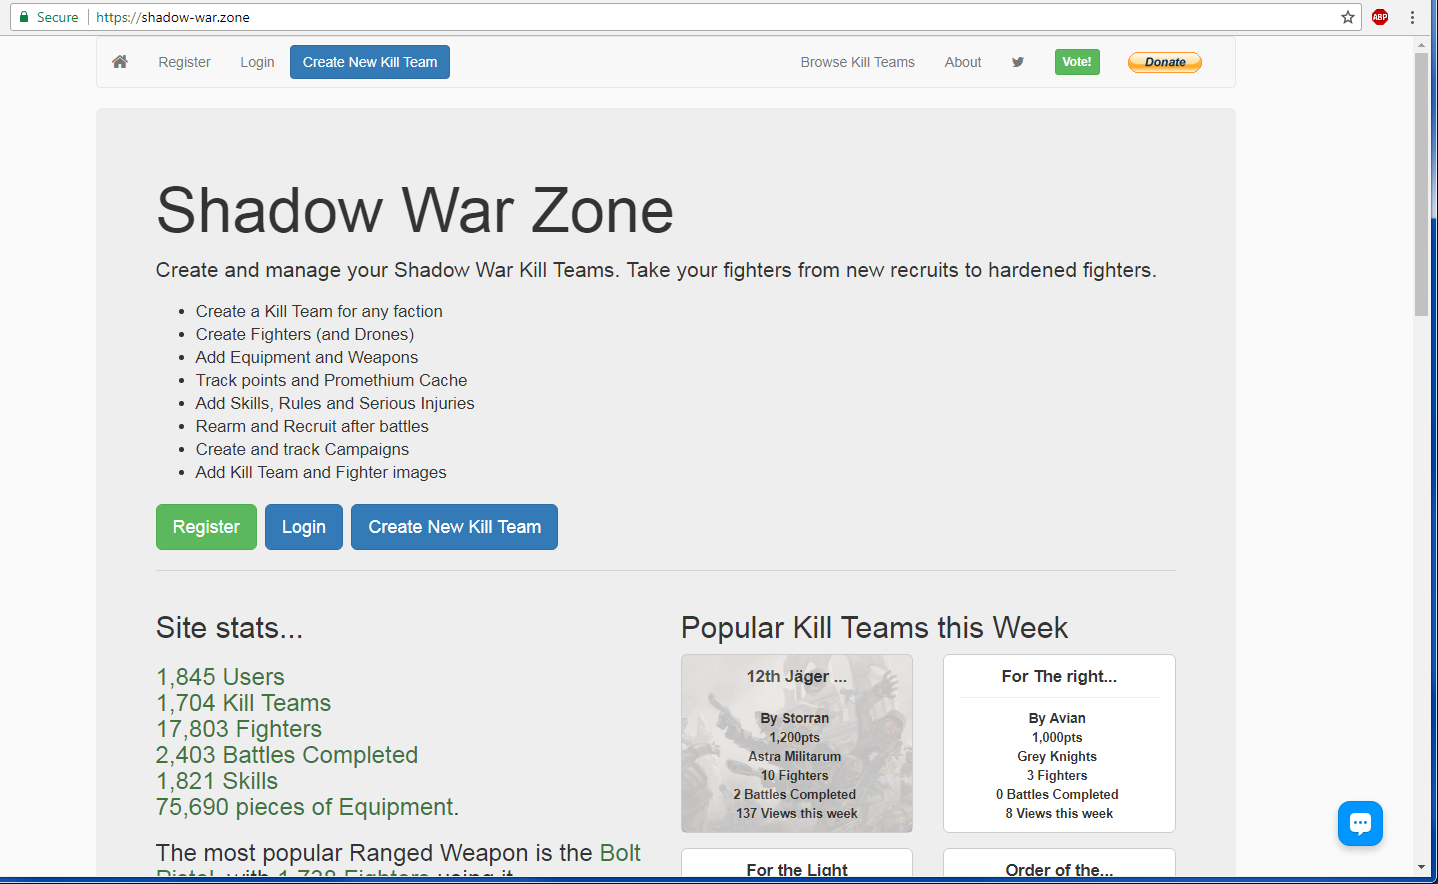
But before writing one I will test out Shadow War Zone app. Shadow War Zone has a great tracking system, but doesn’t appear to have a scheduling piece to it, but I will use it for the campaign that I will run with Bob, Raph, Tom, and maybe Garrett to test it out.


What is That Humming Noise? – EH1 Necrons

Game 1: Wow, what excitement. Let’s be honest, the Harlies and Necron both knew each others capabilities, since they played a friendly game before, so the first four turns were Harlequins moving to close combat and trying to stay hidden or covered and the Necrons NOT moving, and staying hidden. The tension was palpable. Finally, on turn 5, Necrons moved from being hidden to attempt potshots at the Harlequins. The Necrons would get hits (what no 1’s this time? Must not be playing with the green dice!) and score wounds (holy cow, things are looking up for old Gil!), but they resulted in only flesh wounds on the injury roll! The Laughing God came through again, the wounded Harlequins would pick themselves back up, not matter how many wounds the Necrons caused (5 exactly, only one going down, luckily another being taken out, the other three all flesh wounds). Having taken damage in the process the Harlequins closed in and proceed to cause havoc on the Nectrons’ sensitive and apparently very fragile metal carapace. They took out, two bots to being down and smacked in close combat (so much for 1-3 flesh wounding….). The Necrons ultimately bottled out, but not before we both suffered losses, and we both rolled captured for one of our outed guys…. Which lead to something kind of fun….

Game 2: So… What do two players do if they both had models captured and both want to play the rescue mission?
Tom: Hey Terry Glidden, have you ever seen that movie Bridge of Spies with Tom Hanks?
Terry: No, but what are you thinking?
Prisoner transfer! This was actually a lot of fun, with a mix of rescue and Kill Team Fight. We built the bridge in the middle of the board, 12 inch deployment zones, and had our “escorts” meet in the middle of the bridge with the “captives”. Couple special rules: move at the slowest speed in your party (so the clowns were slowed to cron speed for prisoner escort) and after a successful transfer, we would roll off against our leadership at the top of each of our turns to see who “has an itchy trigger finger”. Start at full leadership (10 for both of us) and decrease it by 2 every subsequent turn. We made the hand off, and by the third turn Terry missed his trigger finger roll off and gunned down two of my crons. Realizing my friendly neighborhood killer boots from space lost the upper hand, they decided to run for home at the cost of voluntarily failing bottle. I really liked this twist to the rescue mission, although in the future I think it needs some tweaking to the rules. Worked really well considering we made the scenario in about 5 minutes as we rolled for subplots 😄. My downed dudes recovered, but one got a vicious head wound (fried circuit board?) So he will be looking for fights from now on. Over all great day of dice rolling!

Prototype Industrial Terrain

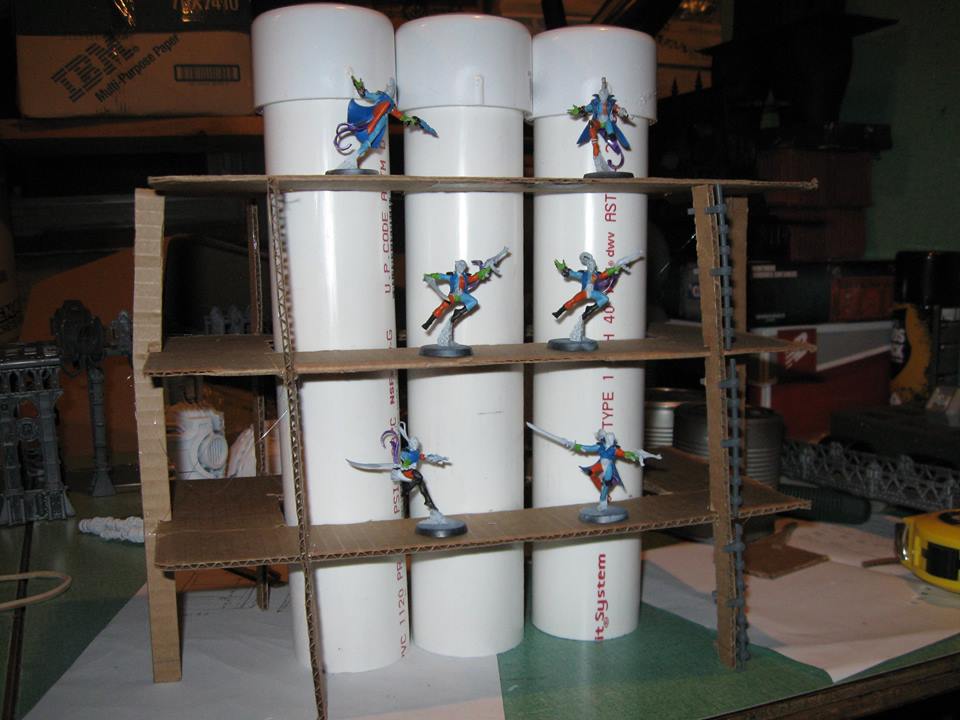
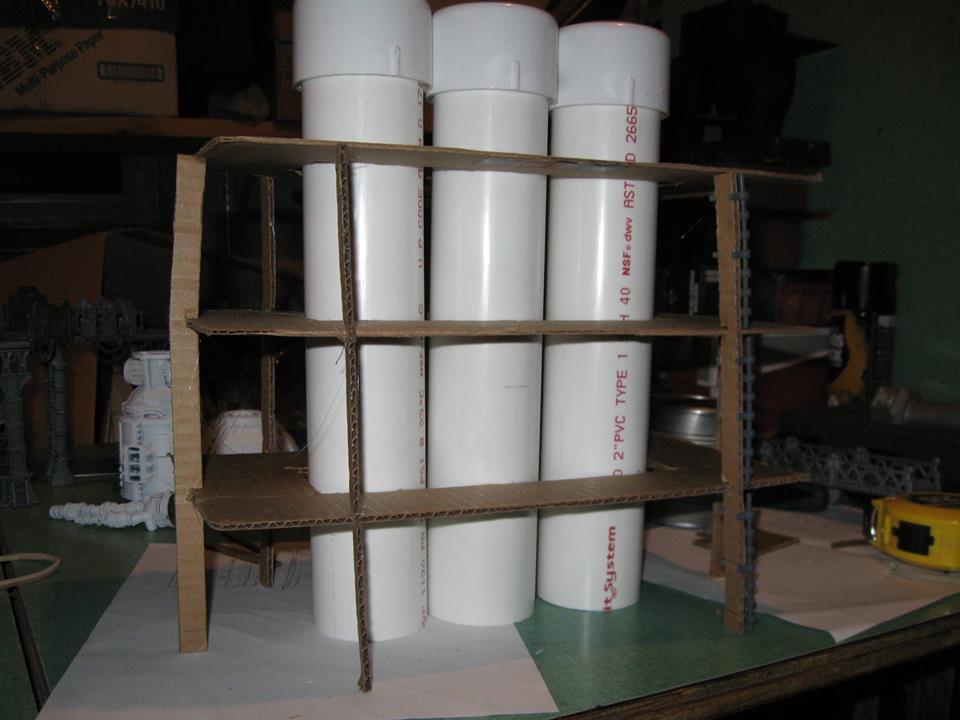
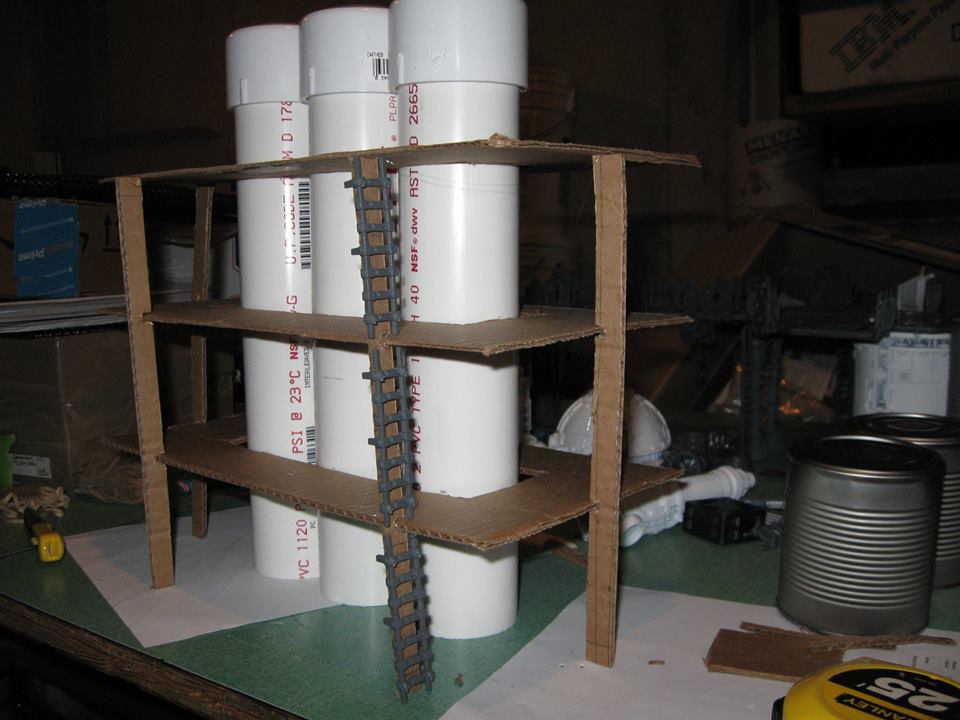
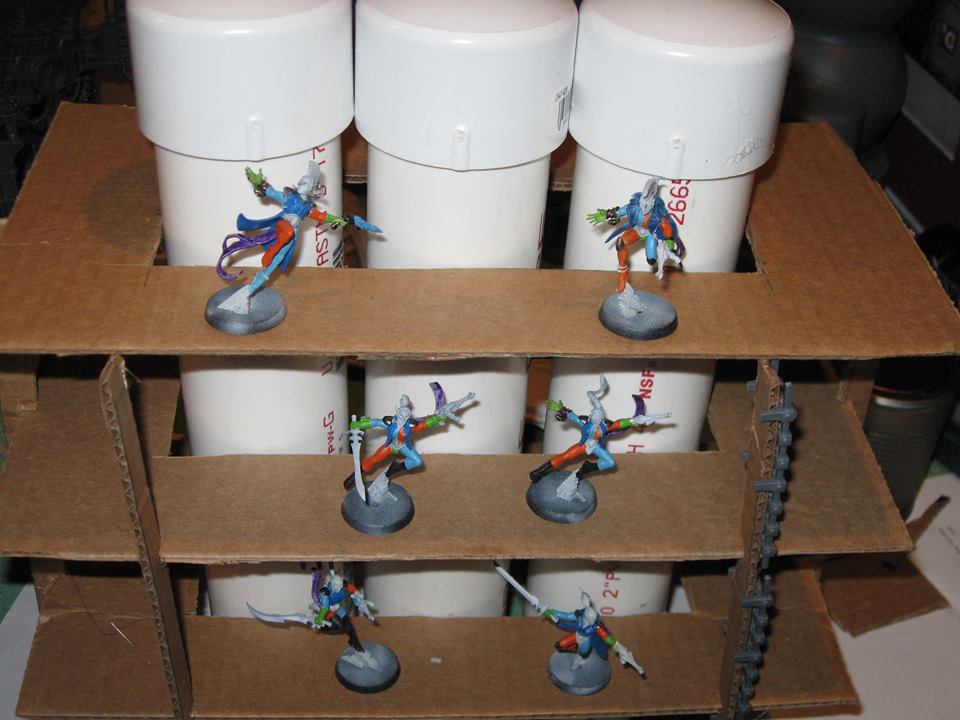
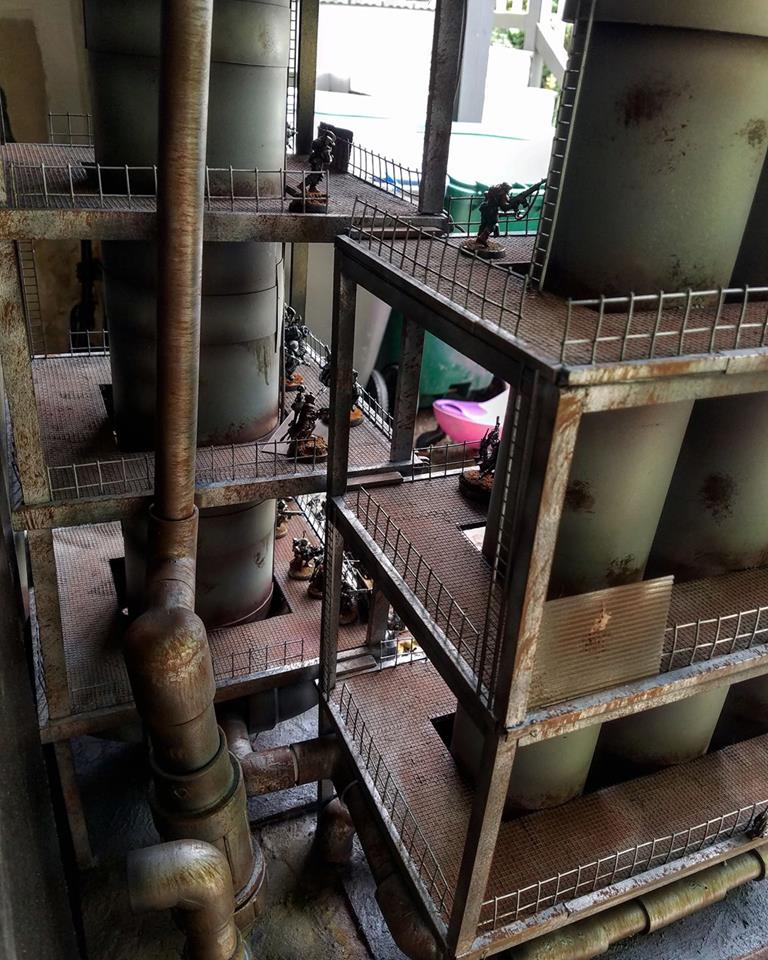
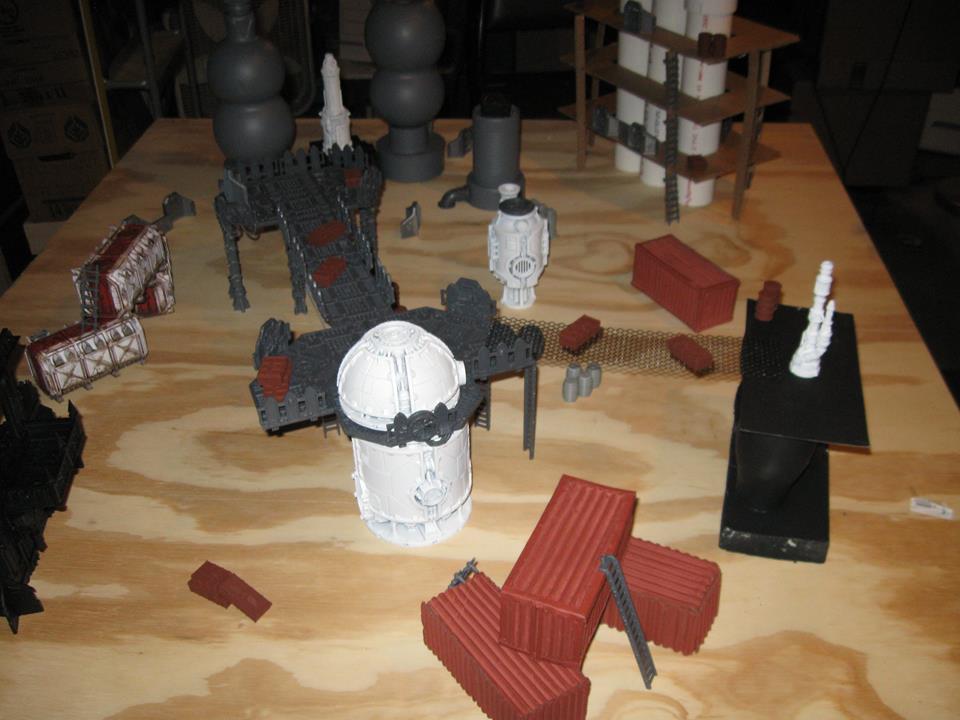
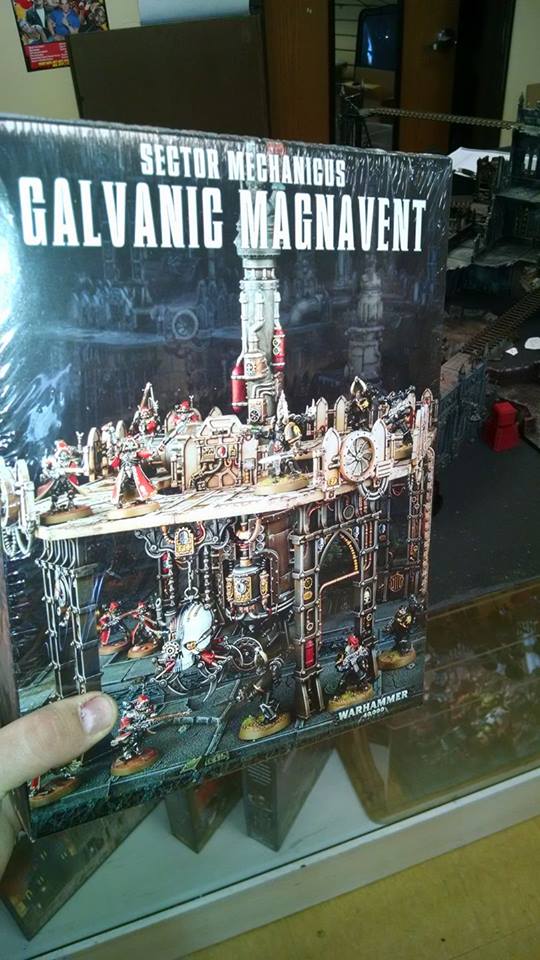
Prototype of new terrain. The play testing of it went well, I played four Shadow War games with it, 2 friendly on Friday and 2 campaign on Sunday. Both were against Tyranids, you can see the Battle Reports in earlier posts (Friendly, Campaign). What I am trying to figure out is whether to do the buttress like shown or a frame like Danny’s inspirational piece below. Leaning toward the frame. Also discussed putting a square stairwell in a corner as a second way to climb to the different platforms. I think that I will but not sure if it should be actual stairs or a ramp – a ramp would be easier to move models on.

Here is the inspiration:

EDIT: Worried that the original FB post may go away so I downloaded the other pics.

Bugs, Bugs, Everywhere Bugs – EH 1 Tyranids

Harlequins vs Tyranids (Matt)

Split games 1/1

Match Total Promethium
Harlequins 3
Tyranids 1

Bat Rep bellow:

Game 3 The Raid
Hunting the Sprawl – Harlequins Lighting Strike; Tyranids Vital Mission
Harlequins the attackers
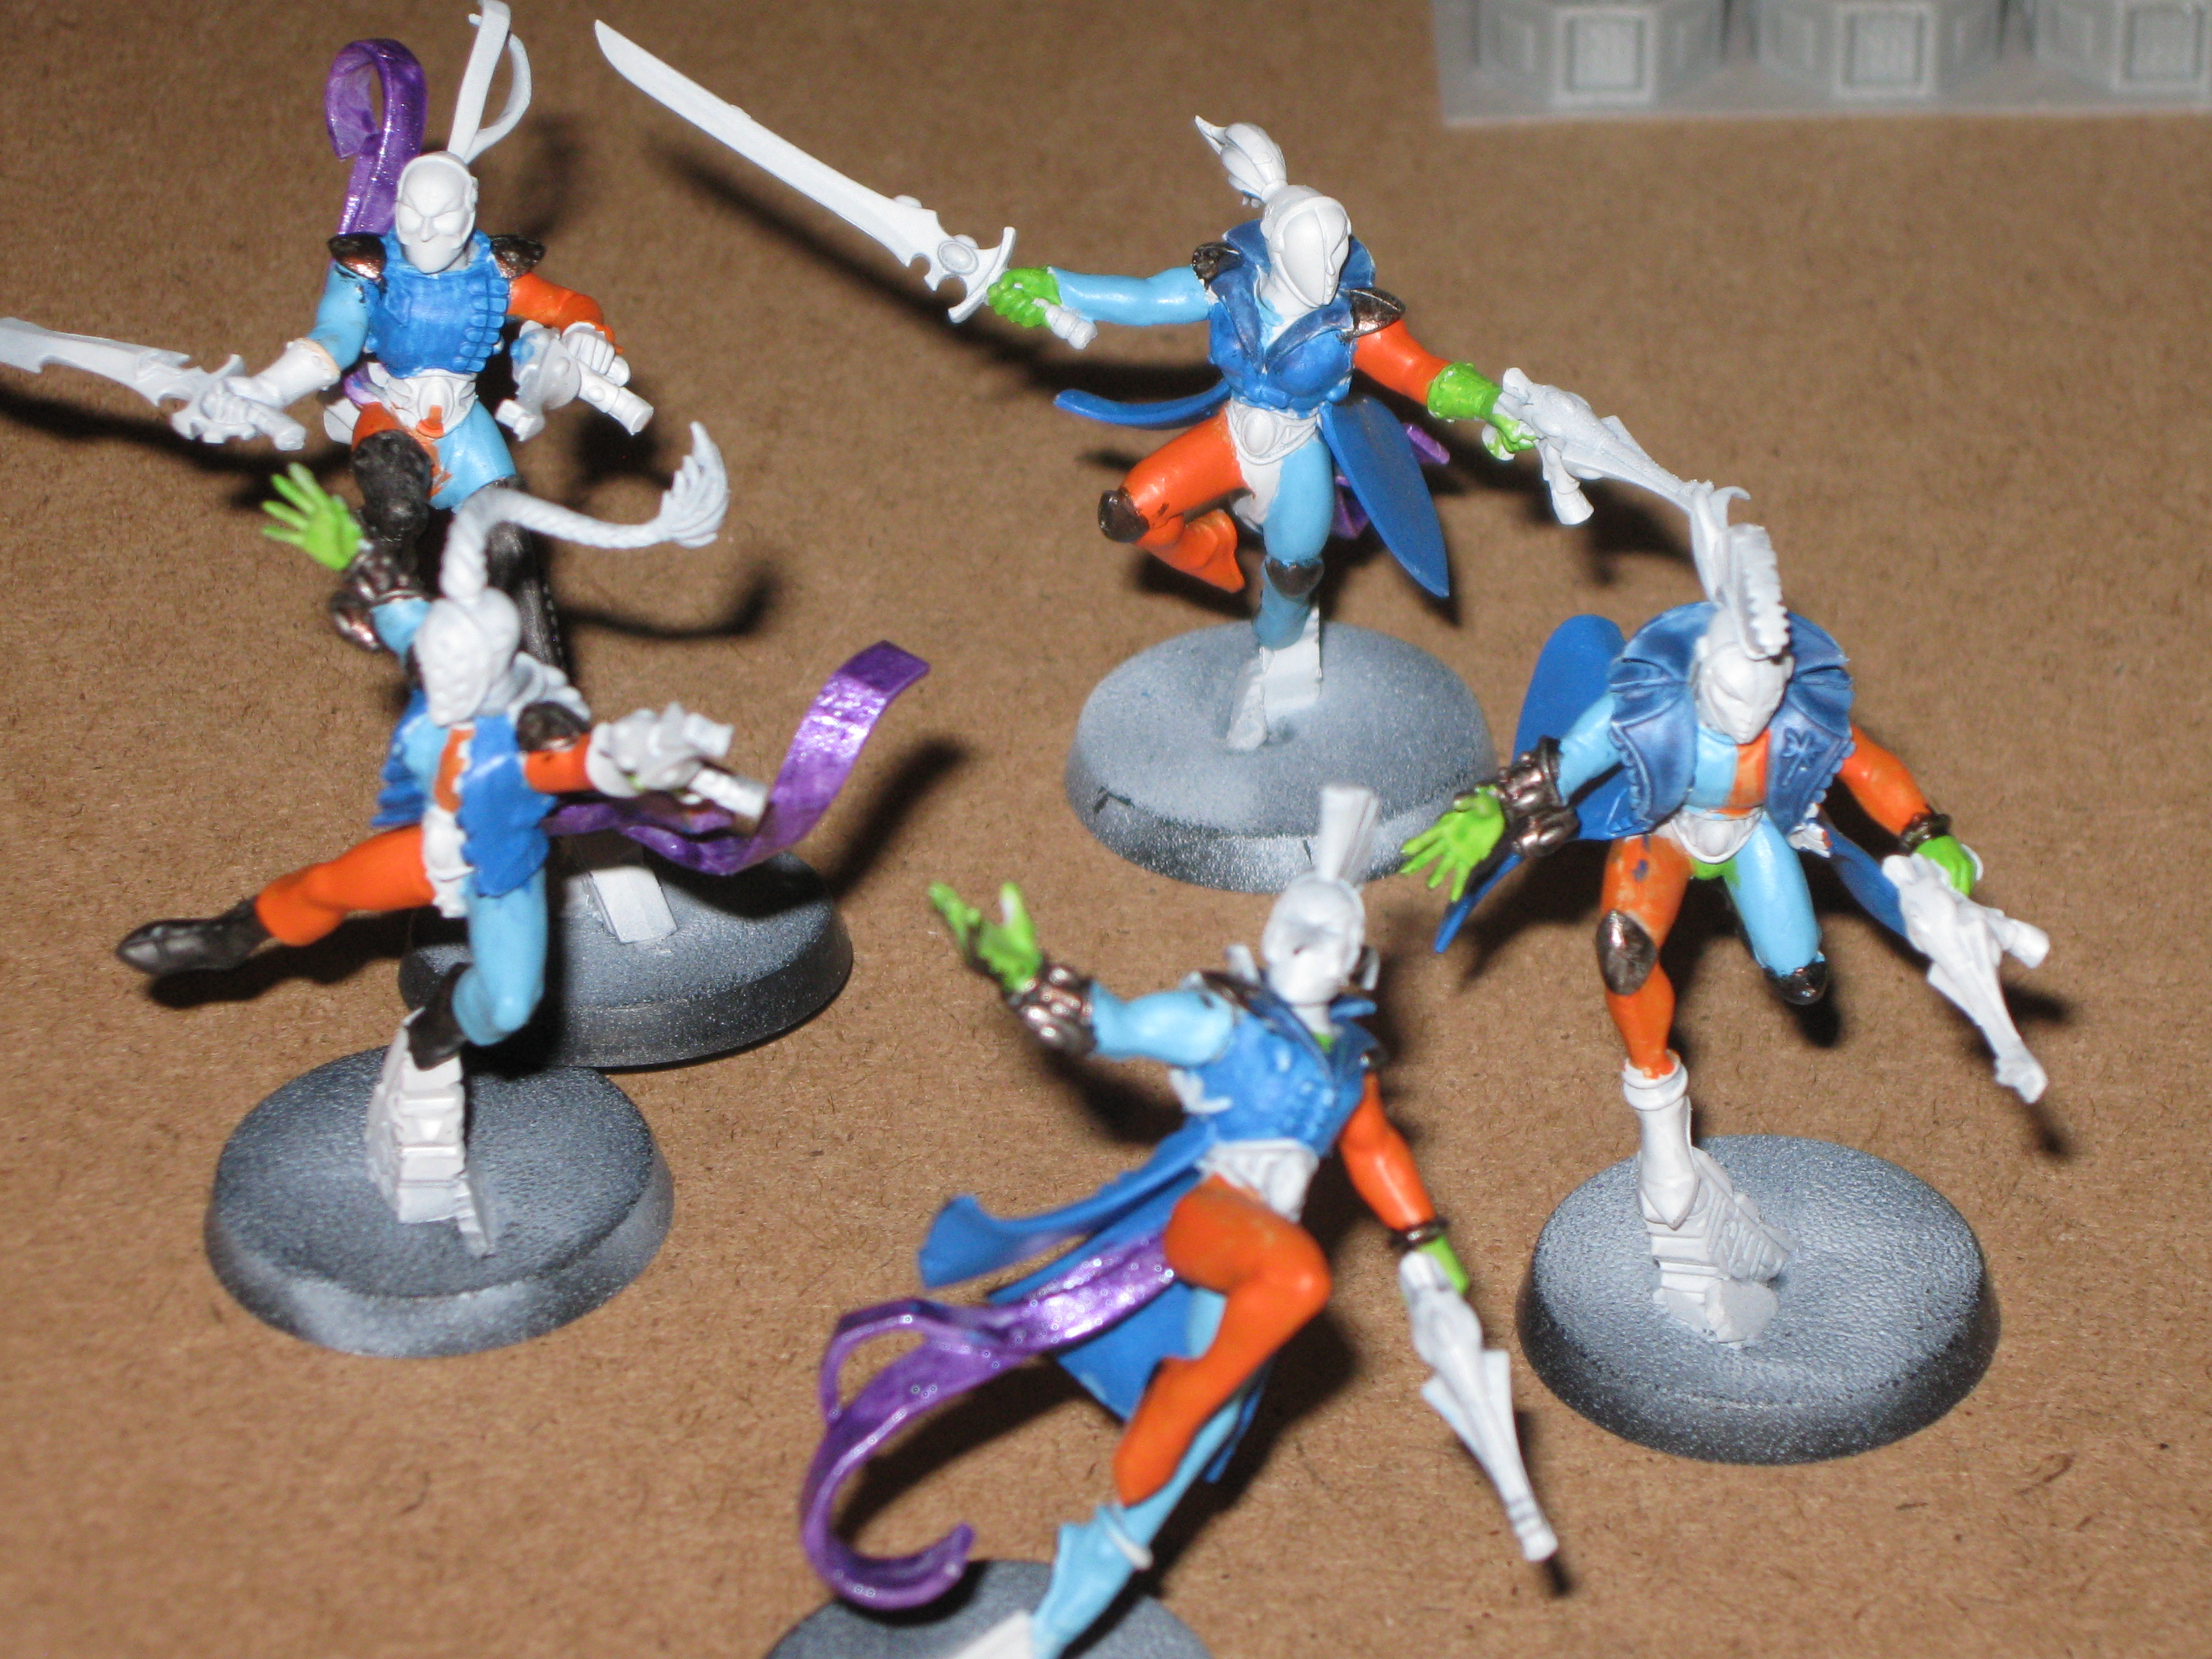
Harlequins deployed stage right. Making maximum use of cover and hiding they closed into charging distance of a Tyranid Gunner. Collino (Troupe Master) and Benetto (Virtuoso) leaped onto the gangway and killed the Bug Gunner while Fiore (Virtuoso) and Zaneta (Player) moved into range of the Tyranid hide out door. A new spawn sounded the alarm (he had no range weapons). Collino and Benetto leaped to silence the bug while Fiore and Zaneta brought the door down to 1 wound remaining. Through some stroke of luck the New Spawn survived. More bugs came in stage left and took a shots at Fiore giving her a flesh wound. The New Spawn managed to survive that round of combat as well, while grievously striking down Collino. Fiore was unable to breach the door but Zaneta rushed to help finish off the New Spawn killing it – leaving Benetto and her standing in the open over their leader’s body. The Tyranids managed to drop Zaneta in their shooting phase. The three in the open scrambled to cover, while Fiore tried and failed to breach the door. The Tyranids failed their bottle test and broke. It turned out that the New Spawn was not dead, Harlequins took if for experimentation.

Harlequins Won Rolling a 3 for Promethium (didn’t even use the Vital Mission re-roll)
Advanced Collino (Leader) who got Dive and Fiore who got Escape Artist. Spent one promethium and the 100 points to supply both Virtuosos with Photo-visors and Neuro Disruptors.

Tyranids spent their 1 promethium and 100 points to get a New Spawn for the rescue mission.

Promethium:
Harlequins 2
Tyranids 0

Game 2 Rescue
Hunt the Sprawl: Harlequins Hidden Cache; Tyranids Indomitable
The Harlequins placed the captive on the highest spot of the tri-tower with Collino hunkerd down guarding him. The Tyranid rescue party appeared upper stage center with the Tyranid Gunner armed with a venom cannon taking Fiore down and on the far side of the center platform another Gunner was able to take Benetto down in the opening shots. Zaneta and Bello began to circle to stage right on a flanking maneuver. The Tyranids moved in for the kill while eventually Fiore recovered only to stand up and take a charging Bug to the face, she was taken out of action. The Players moved around to flank the Gunner Bug just as a recovered Benetto leaped onto the Bug, only to lose the combat and be taken out of action. That bug managed to get into a good firing position and take out Zaneta. Bello fell back to back up Collino. About the same time that Bello got to the top of the tri-tower so did a Tyranid. Not knowing that Bello was there the bug shot at Collino giving him a flesh wound. Bello fired into the Bug’s back taking two wounds, Collino finished him off with the neuro disruptor. The second but to take the top platform killed Bello after a brief close combat fight. Collino took it down. However the bug soon recovered and turned to face Collino. Collino fired his weapon and promptly ran out of charge. The bug charged and finished off Collino, freeing his captured hive mate.

Tyranids Won Rolling 2 for Promethium, they discovered the Hidden Cache for an extra 100 points. His one Gunner that was taken out of action was captured and promptly executed (giving the Harlequins an extra 100 points. The Tyranids took the 200 points + sold a promethium to recruit another Gunner. Leaving them with just 1 promethium cache for the night’s fighting, but a full roster. The Tyranid leader advanced and got the skill Step a Side.

The Harlequins took their 100 points from the late game capture and recruited another Player completing the Troupe. So, 5 Harlequins taken out of action, as reward for not bottling out and forfeiting a Promethium to the Nids the Laughing God rewarded them. They had 2 complete recoveries and 3 Advances! Bellow (Player) got Sneak Up; Zaneta (Player) Infiltration; and Collino Block.

Promethium:
Harlequins 1
Tyranids 1
Friendly Bug Game?

We split games, first game was Raid. I defended with two Harlequings (Leader and Specialist) Tom was only able to bring in his two Specialist, both with Venom Cannons (Yikes – Sustain fire 2). I was able to spot him at the beginning of his second turn and it went down hill from there for him. I was able to bring my reserves in from the opposite table edge from his deployment and eventually herded the bugs into a corner. I put one of his guys down and moved in for the coup de grace…. well, that was the plan. Stupid bug must have been faking the whole time. It was my turn for some phenomenally bad rolling (Tom’s was earlier in the game). I couldn’t even kill the downed bug, should have charged it and killed it in close combat. He put three of my guys down but not out. Two of them came back and we finished the bugs off.

In the second game we got hit and run. I started with 3 and he got 3 as well. He ended up with having to kill the promethium tank which was on the top of the new 3 tower piece. I stationed one of my Specialist on the top gangway and one on the far end of the SW Terrain and my Leader on the other end near the furnace. He started up the ladders but couldn’t make it all the way up with his leader before I could cut he climb off with my specialist. We proceeded to fight for 4, maybe 5 rounds in hand-to-hand with my Specialist and his Leader. I softened him up with Shurekin pistol shots on his way up. I managed to get one of my Troopers up there to help. Meanwhile his New Recruit started to climb up as well, while his Gunner was putting everyone down that wasn’t on the tower. I eventually put killed his Leader and New Recruit in close combat while his Gunner was eliminating every one else. That game had to go for 7-10 rounds and we both had to make bottle tests starting in round 3. His one Gunner finally got that last two Harlequins down and the game ended.

All in all it was a fun and informative game. The take away, Nids’ Venom Canons kick butt, probably more than the Harlequins’ Neuro Disruptor. LOL

First Contact – EH 1 Skitarii

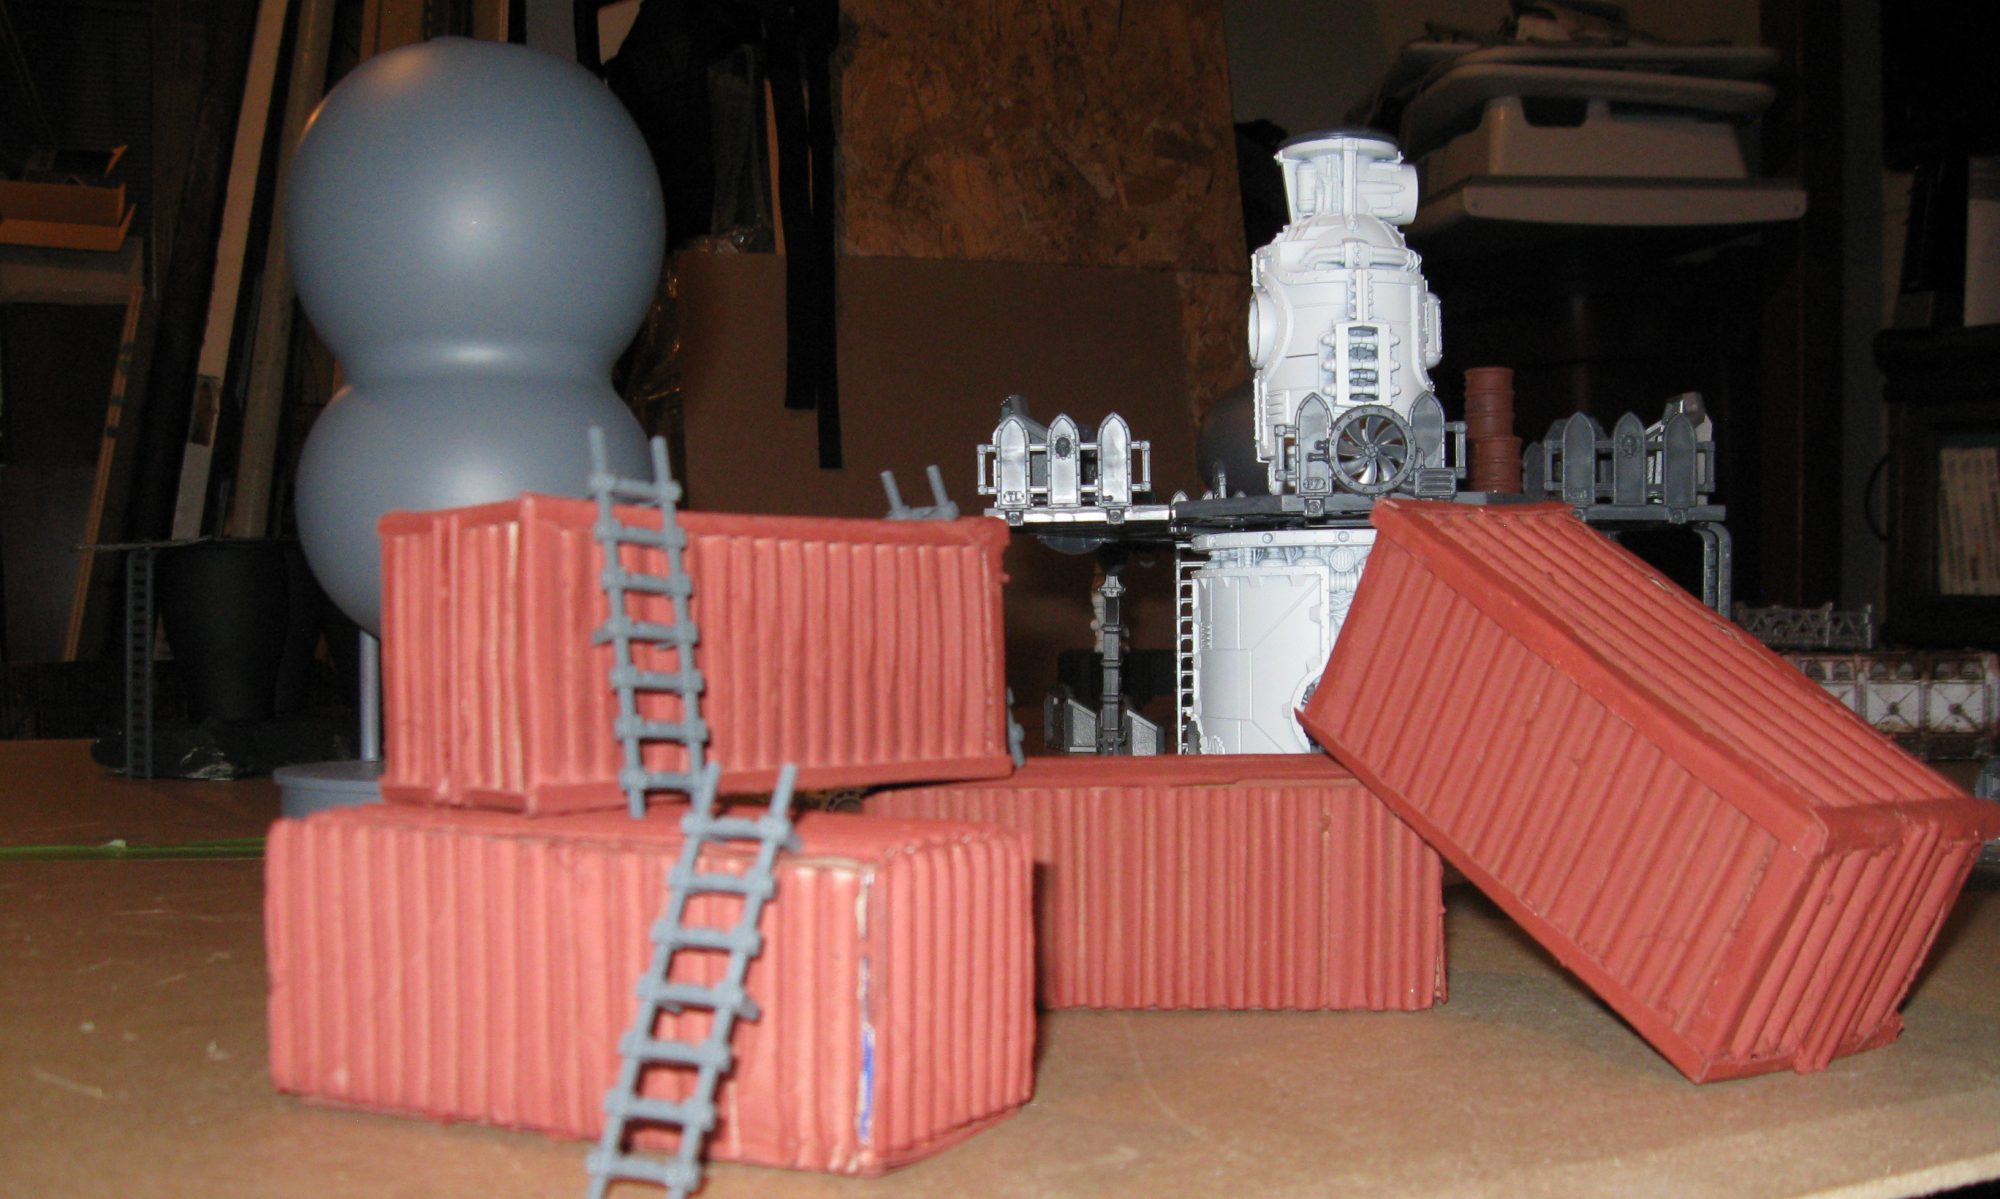
DIY Cargo Containers

First game was Scavengers, but we only rolled 1 loot. And that was the foreboding of the rolls we would have today. Garrett rolled all Quiet and I rolled Corrosive Slick. In the first game Garrett took one his guys down with a stray shot, out of 5 rolls the only non-1 was the wound roll. I ended up winning and rolled a 1 for the promethium. He lost one of his guys and had to sell his promethium to recruit a new specialist. Two of his guys got “That which doesn’t kill you…” His leader ended up with a +1 Wound and his other specialist a +1 to his BS. I sold my promethium as well and picked up a new player for the rescue mission to save my other player, Zaneta. Bellow came with a sword and shurekin pistol. My leader advanced and rolled Escape Artist on the Stealth chart. I did not roll a 6 for the single loot counter.

Me: 1 win; 0 promethium
Garrett: 1 loss; 0 promethium

Game to was the Rescue mission went very quickly, Garret rolled Fear and Confusion and I rolled Bitter Rivalry. Now my Leader, Collino, hates Ragnar. I managed to roll the random side that was withing charging distance of my captured player. My leader and player charged the two Skitarri on high ground while Beneto came up just short of rescuing Zaneta. The alarm was sounded because Collino couldn’t kill the sentry with 6 hits. <sigh> Round two I assaulted the rest of the sentries and my leader was happy since he got to put Ragnar out of action in hand-to-hand. Garrett lost a Freshforged and replaced him. I Advanced my leader and rolled Fast Shot for him. And bought him a Neuro Disrupter and Zaneta a sword. Garrett recruited two Freshforged to replace his lost one.

Me: 2 wins; 3 promethium
Garrett: 2 losses; 0 promethium